


Making sure your roof is in good shape is essential for maintaining the structural integrity of your house. Visible damaged roof shingles are a warning sign that the security of your roof may be in jeopardy. Addressing this issue promptly is essential to prevent potential water leaks, interior damage, and further deterioration. We’ll lead you through what to do when you encounter clearly broken roof shingles in the tutorial that follows. By taking these precautions, you’ll not only protect your belongings but also prolong the life of your roof and guarantee the security and comfort of your home.
Safety First: Before you begin any work on your roof, prioritize safety. Use proper personal protective equipment (PPE) such as non-slip shoes, gloves, and a safety harness if necessary.
Assessment: Carefully inspect the extent of the damage. Identify the broken shingles, their location, and any other potential issues like loose nails or damaged underlayment.
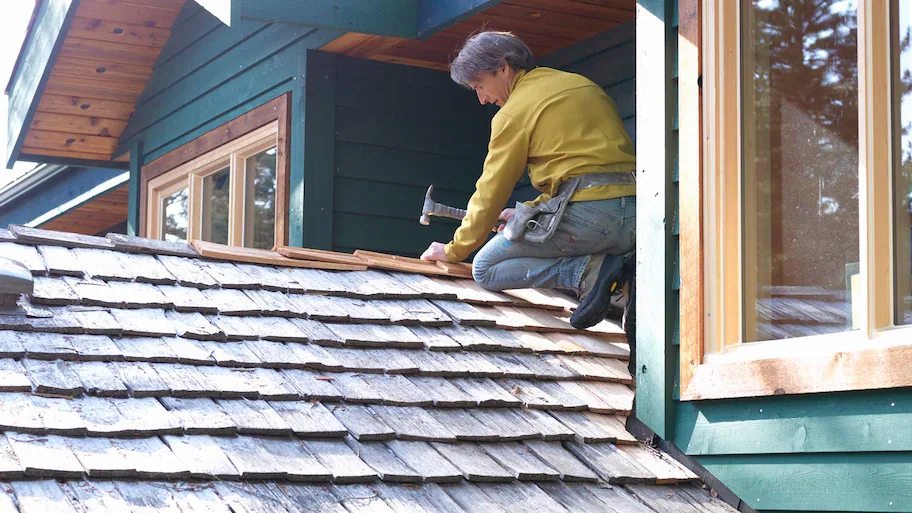
Gather Materials: Collect the necessary tools and materials for the repair. You’ll likely need replacement shingles, roofing nails, a pry bar or shingle ripper, a hammer, roofing adhesive or sealant, and a ladder.
Remove Damaged Shingles: Gently and carefully use the pry bar or shingle ripper to lift and remove the damaged shingles. Be cautious not to damage surrounding shingles in the process.
Inspect Underlayment: Look for any indications of water damage or deterioration in the underlayment. The underlayment could also need to be changed if it is damaged.
Replace Shingles: Aligning the new shingle correctly with the older ones requires sliding it into position. Nail the new shingle down using roofing nails, making sure to follow the same pattern as the surrounding shingles. Apply gentle pressure to ensure a snug fit.
Sealant and Adhesive: If your roofing system uses adhesive strips, apply roofing adhesive or sealant to the underside of the shingle tabs before pressing them down. This helps create a watertight seal.
Secure Adjacent Shingles: Ensure that the surrounding shingles are properly secured and lying flat. If any of them were disturbed during the repair process, gently tap them back into place with a hammer.
Inspect the Repair: Step back and inspect your repair work. Make sure the replaced shingles are aligned correctly and lie flat. Check for any visible gaps or signs of poor sealing.
Clean Up: Collect any debris or discarded materials from the repair. This includes nails, broken shingle pieces, and any other items that might have accumulated during the process.
Regular Maintenance: After repairing the broken shingles, make a habit of inspecting your roof periodically. This proactive strategy can assist you in identifying possible problems early and resolving them before they worsen.
Consider Professional Help: It’s a good idea to employ a qualified roofing contractor if the damage is substantial or if you don’t feel confident performing DIY repairs. They are equipped with the knowledge and skills to address more intricate roofing problems.
Keep in mind that regular roof care can considerably increase the roof’s lifespan and shield your house from water damage. A professional roofer should always be consulted if you have any questions about the repair procedure to guarantee the work is done correctly.


