


Are you looking to give your patio a fresh and vibrant new look? Before you grab that paintbrush, it’s crucial to properly prepare the surface by removing old paint and banishing any unsightly mildew. In this comprehensive guide, we’ll walk you through the essential steps of a pre-painting wash that will revitalize your patio and ensure a flawless paint job.
Step 1: Assess the Condition of Your Patio
Start by examining your patio for any peeling or chipped paint, as well as areas affected by mildew growth. This evaluation will help you determine the extent of the work required and the appropriate cleaning techniques to employ.
Step 2: Gather the Necessary Tools and Materials
To effectively wash away old paint and mildew, you’ll need a few essential tools and materials. These may include a pressure washer, paint scraper, wire brush, protective gloves, safety goggles, mildew cleaner, bleach, water, and a bucket. Ensuring you have everything you need beforehand will make the process smoother and more efficient.
Step 3: Safety First
Before you begin the pre-painting pressure wash, prioritize your safety. Wear protective gear such as gloves and goggles to shield yourself from any chemicals or debris that may be released during the cleaning process. Safety should always be a top priority!
If you’re not comfortable doing it yourself, you can seek professional help. For example, if you live in Knoxville, Pressure Washing Knoxville by SmartWash is a highly regarded service for pre-painting pressure washing.
Step 4: Remove Loose Paint
Using a paint scraper or wire brush, carefully remove any loose or peeling paint from your patio surface. Be thorough but gentle to avoid damaging the underlying material. This step will provide a clean canvas for the upcoming wash.
Step 5: Prepare the Cleaning Solution
Mix a solution of mildew cleaner, bleach, and water in a bucket according to the manufacturer’s instructions. This powerful combination will effectively eliminate mildew and prepare the surface for painting.
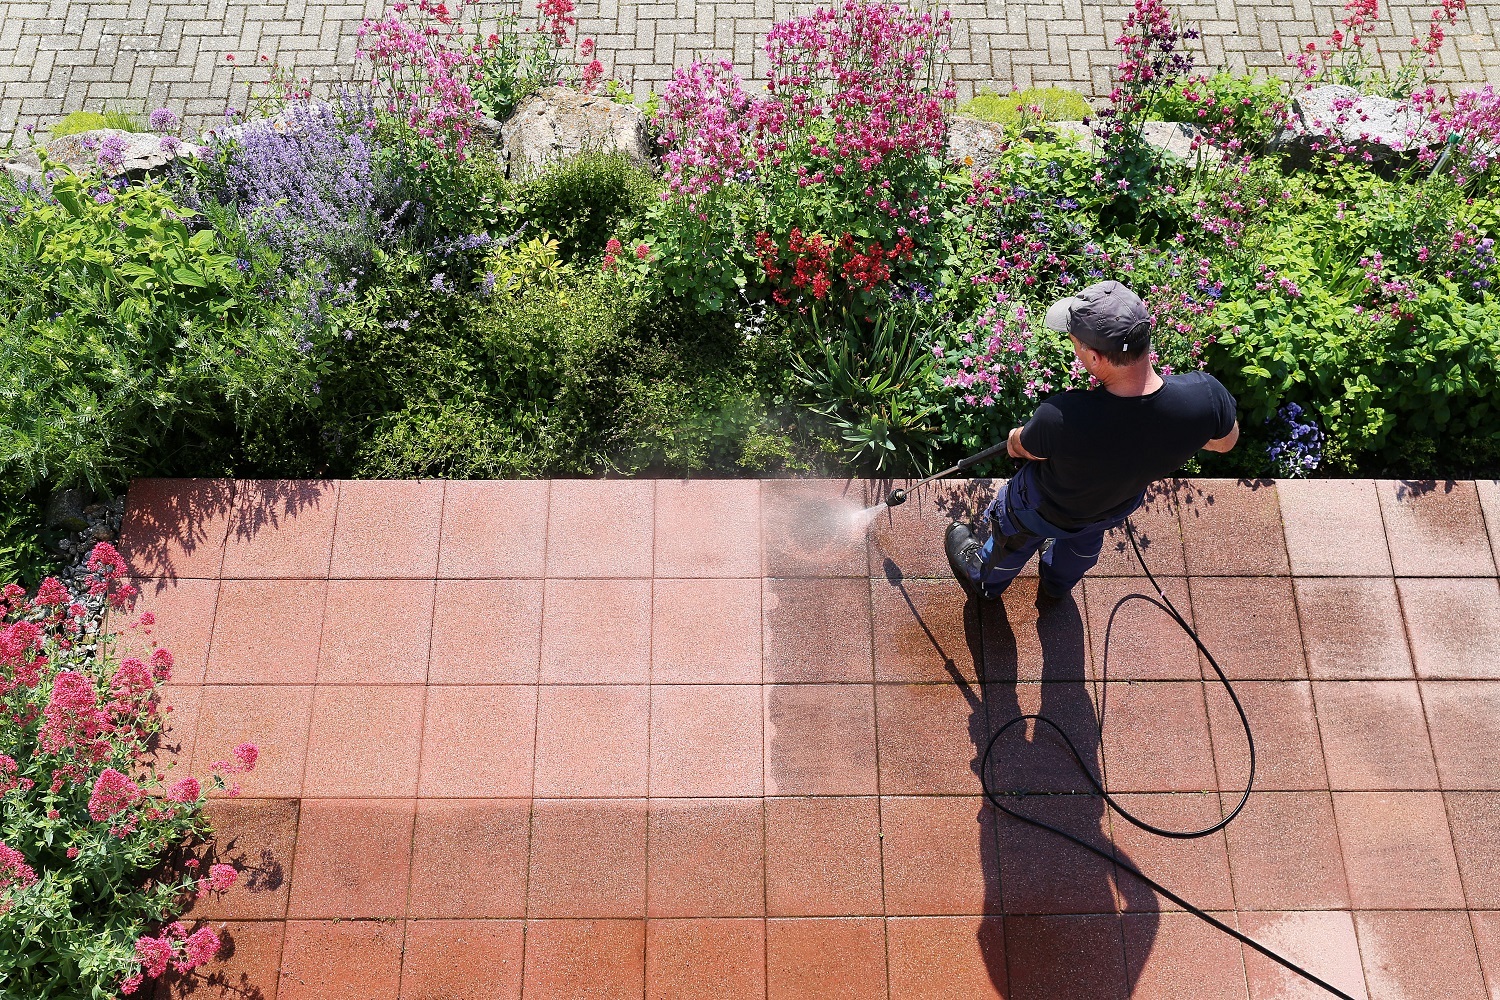
Step 6: Pressure Wash the Patio
With the appropriate nozzle attachment on your pressure washer, begin washing your patio. Start at one end and work your way across, ensuring all areas are covered. Pay extra attention to spots affected by mildew growth, as the pressure washer will help remove it effectively.
Step 7: Rinse and Repeat
Once you’ve completed the pressure wash, thoroughly rinse the patio surface with clean water. Inspect the area for any remaining traces of old paint or mildew. If necessary, repeat the process until you achieve a clean and pristine surface.
Step 8: Allow the Patio to Dry
Give your patio ample time to dry completely before applying any paint. Moisture trapped beneath the surface can lead to peeling and other paint-related issues. Patience is key at this stage to ensure the best possible results.


